专注碳化硅 (SiC) 外延片研发与生产12年
全球碳化硅外延片主要生产商
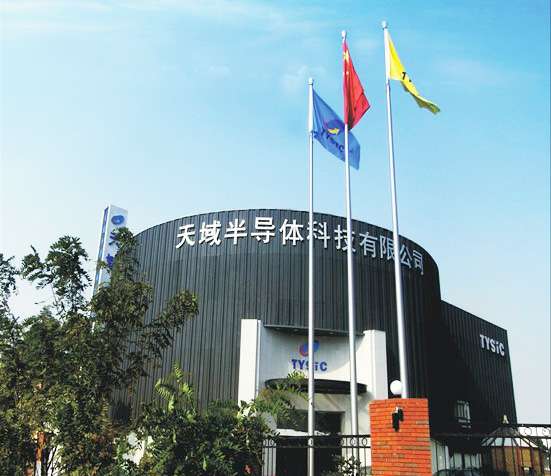

欧洲杯网上下注(中国)有限公司官网(TYSiC)成立于2009年,是中国第一家从事碳化硅 (SiC) 外延晶片市场营销、研发和制造的民营企业。2010年,欧洲杯网上下注(中国)有限公司官网与中国科学院半导体研究所合作,共同创建了碳化硅研究所,该研究所由该领域最优秀的人才组成。欧洲杯网上下注(中国)有限公司官网是中国第一家碳化硅半导体材料供应链的企业获得汽车质量认证(IATF 16949) 。目前,欧洲杯网上下注(中国)有限公司官网在中国拥有最多的碳化硅外延炉-CVD。 凭着最先进的外延炉设备、外延技术和最先进的测试和表征能力,欧洲杯网上下注(中国)有限公司官网为全球客户提...... →查看更多